

The blog
All
Wellness
Movement
motherhood
Recipes
I hope to educate, inspire and empower you to connect with your body and find food and fitness freedom. Here on the blog I share all of my top tips on movement, nutrition, mindset and motherhood.


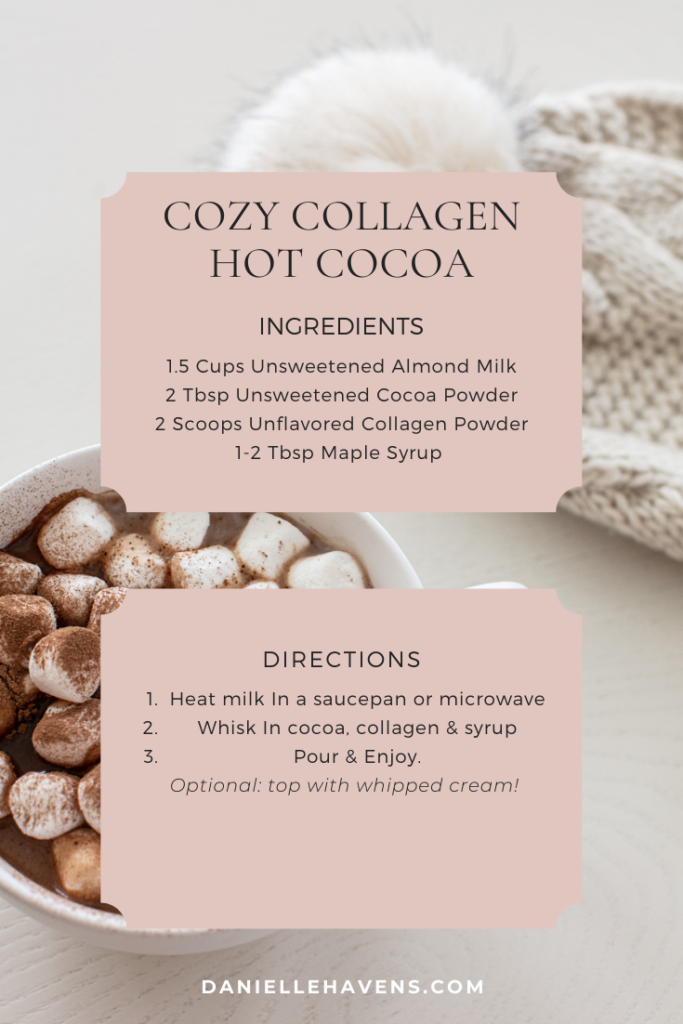
Who doesn’t love a cozy cup of hot chocolate?!
Today my family and I played outside in the snow! While my loved ones sipped on some holiday beverages, I was craving a special drink of my own – specifically hot cocoa. I didn’t have any hot cocoa mix on hand so thought I would make my own.
I raided my pantry to see what I had on hand. Because I am in my third trimester I am trying to prioritize getting enough protein. One way I’ve been doing this is by adding collagen to my coffee. I thought hot cocoa would be the perfect drink to add collagen into.
Health Benefits of Cocoa + Collagen
Hot chocolate is the perfect wintertime afternoon pick me up that can provide energy + protein.
Raw cocoa powder contains bioflavonoids. Cocoa can reduce inflammation which directly boosts your immune system, boost your mood, and promote better sleep. Cacao beans are full of minerals such as magnesium, sulfur, calcium, iron, zinc, copper, potassium, and manganese.
Collagen provides additional protein to your day, leaving you feeling full and satisfied, prevents blood sugar crashes, and can help with your skin and hair.
Recipe
This recipe turned out so yummy I just have to share! I was pleasantly surprised and my husband and son also loved it. Let me know what you think!
I am obsessed with lattes and oat-milk, so when Starbucks released this drink I just HAD to try it. It did not disappoint!
I set out to re-create this delicious beverage at home, and after a few tries think I nailed it!
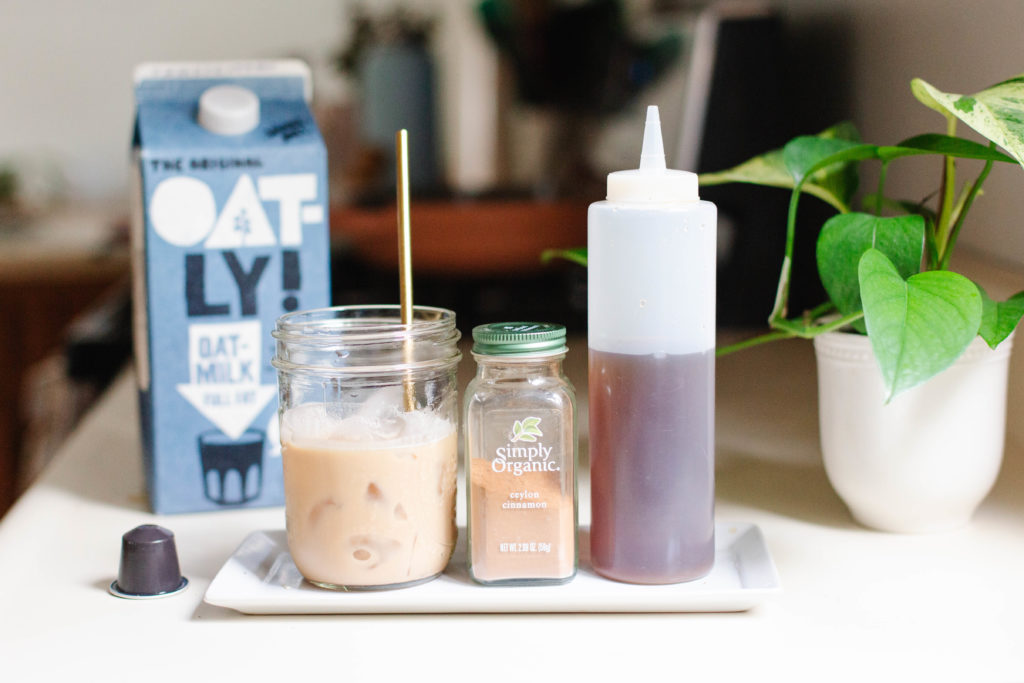
Here is how you can make your own Iced Brown Sugar Oatmilk Shaken Espresso at home, in less than five minutes without spending more than a dollar or two per drink!
I asked the Barista at our local Starbucks to walk me through what was included in this new drink. She explained to me that they use the Starbucks® Blonde espresso roast with brown sugar simple syrup and a dash of cinnamon together (genius) and then combine the espresso with ice and Oatly oat-milk. Then it is shaken to mix all of the flavors together.
Supplies You Need:
- Nespresso Machine
- Starbucks Blonde Espresso Pods
- Oatly Oat Milk – this can be found at your local grocery store or Target. I recommend the Full Fat or Barista Blend. Starbucks uses the barista blend but this is not always available for consumers. I found the regular oat milk tasted almost identical.
- Light Brown Sugar
- Water
- Cinnamon – I recommend purchasing a high-quality cinnamon spice for this latte recipe. Look for one in a glass container to preserve freshness or buy a new one if you’ve had yours for over six months!
- Ice
- Mason Jar with lid or shaker
Ingredients
- 2-3 Shots Starbucks® Blonde espresso
- 8 ounces Oat milk
- 2 Tbsp Brown Sugar Simple Syrup
- Cup full of Ice
- Dash of Cinnamon
Directions:
- Make Your Simple Syrup: this is insanely easy and takes about ten minutes. It will last you a while so you won’t have to make a batch every time. Mix 1 cup of water with 1 cup of packed brown sugar. I used light brown sugar. Combine in a small saucepan over medium heat and stir until sugar is dissolved. Allow syrup to cool to room temperature & store in an airtight container to use throughout the week.
- Brew Espresso: At Starbucks, a Grande drink has two shots of espresso, and a Venti iced drink gets three shots. It is really important to make sure you have enough high-quality espresso for your home beverage in order for the drink to work. Brew two shots of espresso using your method of choice. The Nespresso pods worked perfectly for me!
- Add Flavor: Combine your freshly brewed espresso with simple syrup and cinnamon in a mason jar. Place lid on jar or shaker and shake until combined. If shaking isn’t your thing, simply stir or whisk well.
- Ice & Shake: Pour mixture over ice and top with the milk. Shake again! This part is fun and makes the drink special! Instead of a latte, where the espresso is just poured over the ice and milk, everything is distributed evenly in this drink JUST HOW I LIKE IT!
- Enjoy!

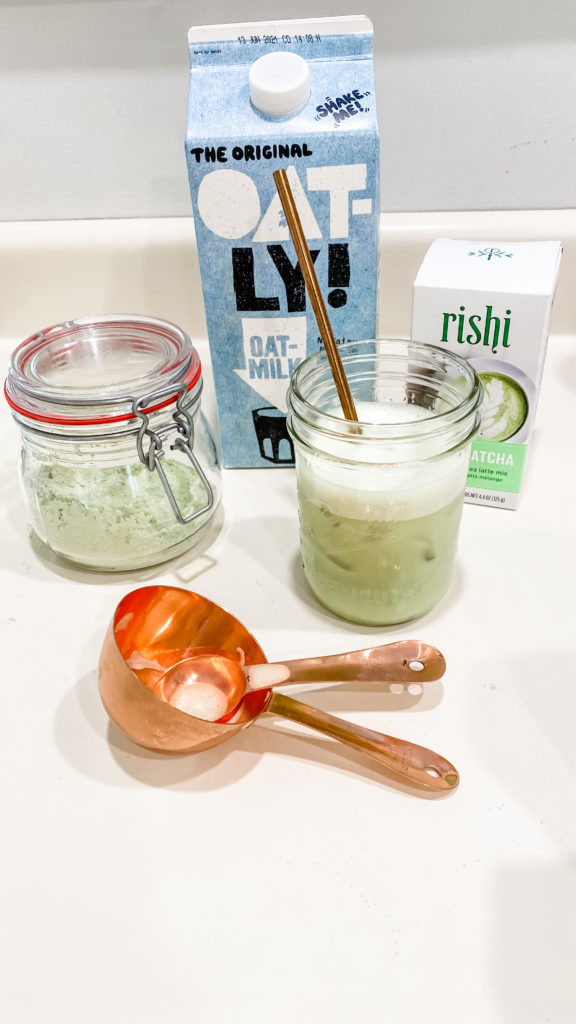
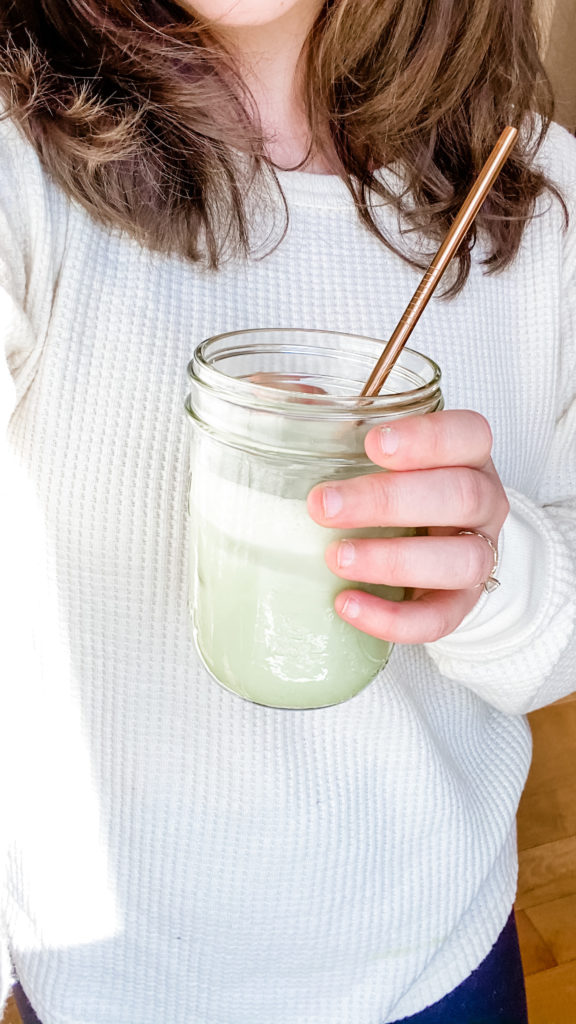
Fresh & Foamy Matcha Latte
Why matcha?
I identify as someone who has high functioning anxiety and also has experienced postpartum anxiety. Although coffee is one of my favorite things in the whole wide world, I have learned that at certain times the caffeine can increase my anxiety.
A coach of mine introduced me to matcha, and I have been hooked since. It is a lovely, green drink that provides energy without the jitters and a ton of antioxidants!
Benefits
- Matcha contains L-theanine (decreases anxiety, enhances alertness & brain function)
- The practice of making and mindfully enjoying a cup of matcha can be your mindful moment in your day!
- Coconut oil is a yummy, delicious healthy fat.
- Matcha is high in antioxidants.
Ingredients
- ½ cup hot water
- ½ cup oat milk
- 1 tsp matcha tea powder (THIS is my favorite)
- 1 tbsp coconut oil
- 1 tbsp honey or maple syrup (omit this if your matcha latte mix is already sweetened!)
Directions
Warm: Combine all ingredients together and blend for 1 minute until frothy using an immersion blender or blender! Adjust sweetener to taste as needed.
Iced: combine 1 tsp matcha per 8 ounces of milk. Place oat milk in frother & warm. If you do not have a frother warm milk on the stove. Mix matcha in well. Pour over a cup of ice & serve!
Enjoy!
Ingredients
- 1 large onion
- 3 medium carrots
- 3 celery stalks
- 6 garlic cloves
- 2 bunches kale (stemmed)
- 1-28 ounce can of diced tomatoes
- 1-14 ounce can of pinto beans (rinsed & drained)
- 3/4 tsp crushed red pepper flakes
- 3 potatoes OR noodles, cooked
Directions
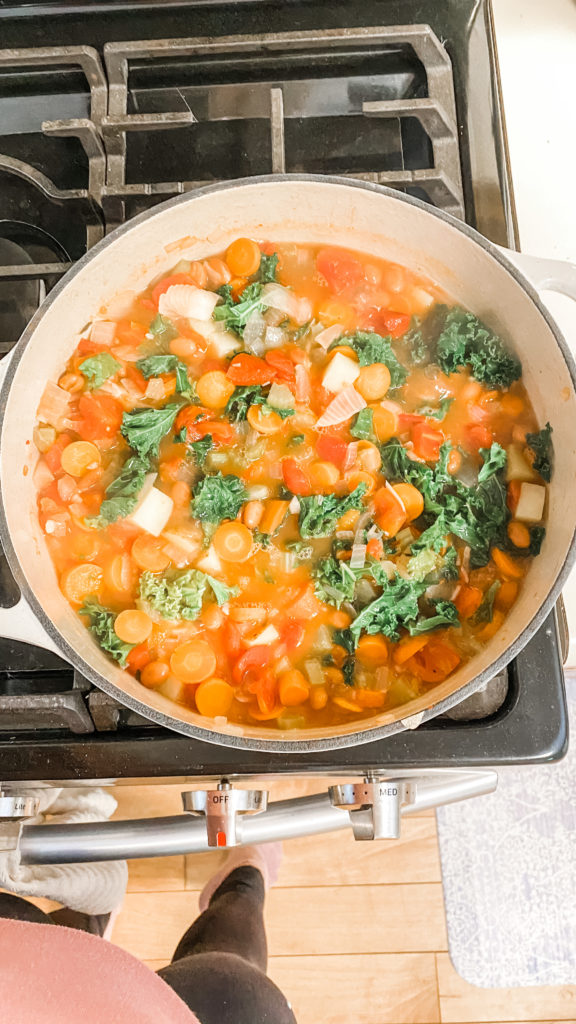
- Dice onion, celery, carrots and mince garlic. Stripe rule off of kale stalks and cut into small pieces.
- Cook onion, celery, carrot, potatoes, and garlic in oil in dutch oven, stirring occasionally until veggies are softened, 8-10 minutes. Add 2 tsp. salt. Add potatoes if using.
- While veggies cook, place a strainer over a bowl. Strain can of tomatoes, reserving juice for later. Add tomatoes in strainer to dutch oven and cook 10 minutes.
- Add beans, tomatoes juice, red pepper flakes, 4 cups of water to dutch oven. Bring to a simmer.
- Add kale in 2 additions, stirring and allowing to wilt in between. Simmer for 5 minutes. Taste & adjust seasoning.
Enjoy!
Let me show you how to make a simple and delicious iced latte at home!
Disclaimer: As an Amazon Associate I earn from qualifying purchases.
I’ve experimented for you and found the most efficient and tasty recipe for iced lattes at home!
Not only is it cost-effective to make homemade lattes, but I find the routine of creating something I love soothing and joyful. It is part of my morning routine!
Time
Making my latte takes five minutes tops.
Cost
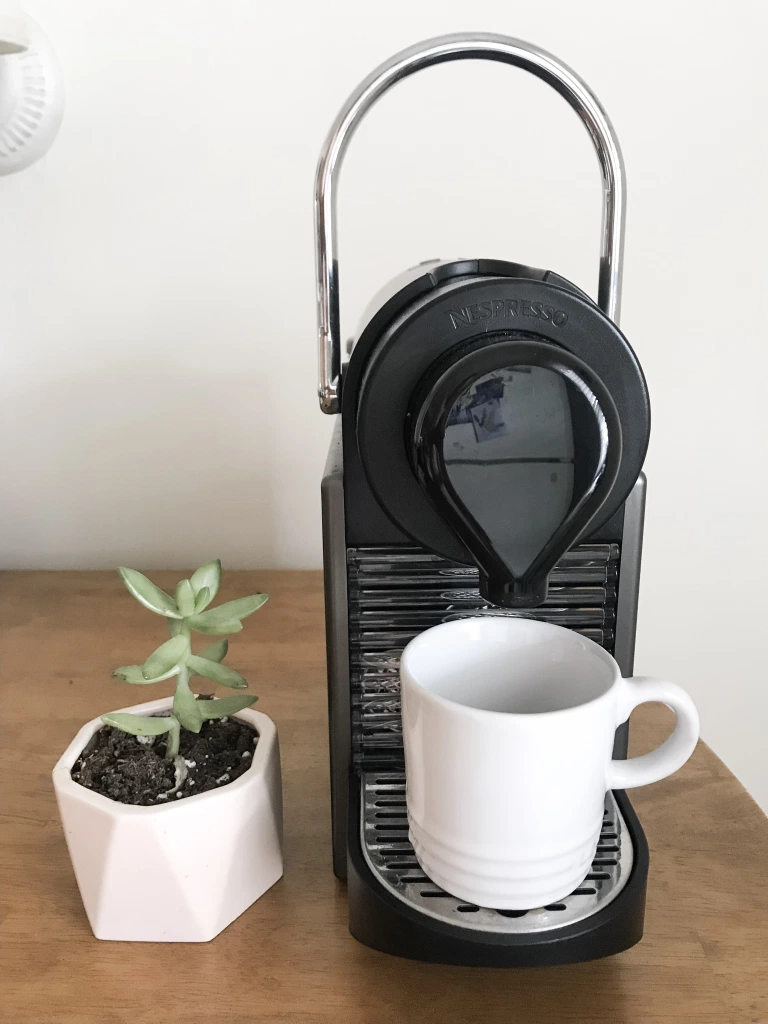
I brew my espresso with a Nespresso Machine. And oh my goodness – I looooooveee this machine.
Another thing I love about Nespresso is that they provide you with bags to recycle your pods in with each order. All you have to do is drop it in the mailbox to send back!
The initial investment is about $250 for equipment. But, after purchasing the espresso machine to start, each latte costs about $2.00. It has saved me lots of money in the long run.
If you are unsure about investing in an espresso machine, try tracking how much money you spend for one week on coffee! It may help you decide.
- Nespresso Pixie Machine
- Nespresso Aeuroccino 4 Milk Frother
- Nespresso Pods: $0.70 each, my favorite capsule is Roma
- Oatly Oat Milk: $4.99 for 1/2 gallon or 8 servings

You can totally make this latte without the milk frother to start, it will just be creamier! I love my milk frother because in the winter I use it to make hot lattes as well.
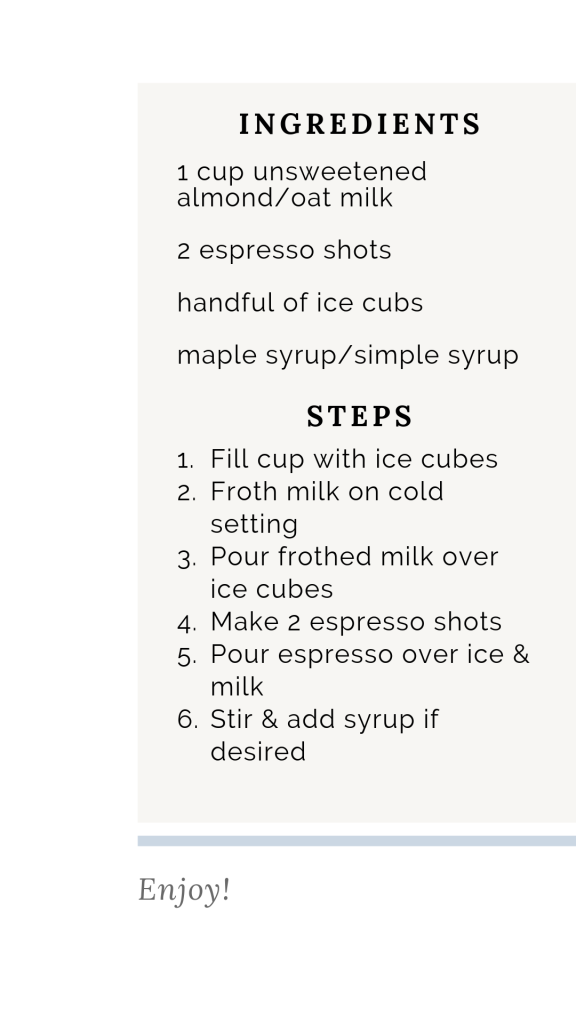
Ingredients
1 cup milk of choice
2 Nespresso pods (I made two shots on the espresso setting)
1 cup of ice cubes
Simple Syrup (optional)
Steps
- Fill your cup with ice cubes
- Froth milk on the cold setting, or just pour over ice cubes
- Make two shots of espresso with Nespresso machine
- Pour hot shot over ice cubes and milk
- Stir and enjoy!
I purchased this espresso cup and make my shots in it.
I also have reusable straws to use! You can find similar ones here.
I have ice cube trays with silicone backs that make making a bunch of ice very easy, for those without an ice maker!

P.S. You can check out my Instagram Story highlights for a video of how I make my latte!
Leave a Reply
workbook

guide

Create an organized closet
Guide

